Lathe Steady Rest Fingers
Project started on 2011-12-03
Project completed on 2011-12-22
My esteemed friend and colleauge Adam Trumpour recently bought a Standard Modern lathe for his rocket work. It came with a steady rest but the steady rest was lacking in fingers. A friend in need is a friend indeed. So, I agreed to help him make some fingers for his steady rest. 3 types of fingers were made:
- Solid brass
- Small ball bearing (so that it will fit inside the finger housing
- Large ball bearing (for heavy duty uses)
The steady rest takes 1/2" fingers. You can tell by looking at the finger housings. All fingers were made to match this.
Solid Brass
Nothing says tradition like have a set of good old solid brass fingers for your steady rest. This is the first set of fingers that I made.
Start off by cutting off a piece of free machining brass (C360).

Chuck it into the lathe.

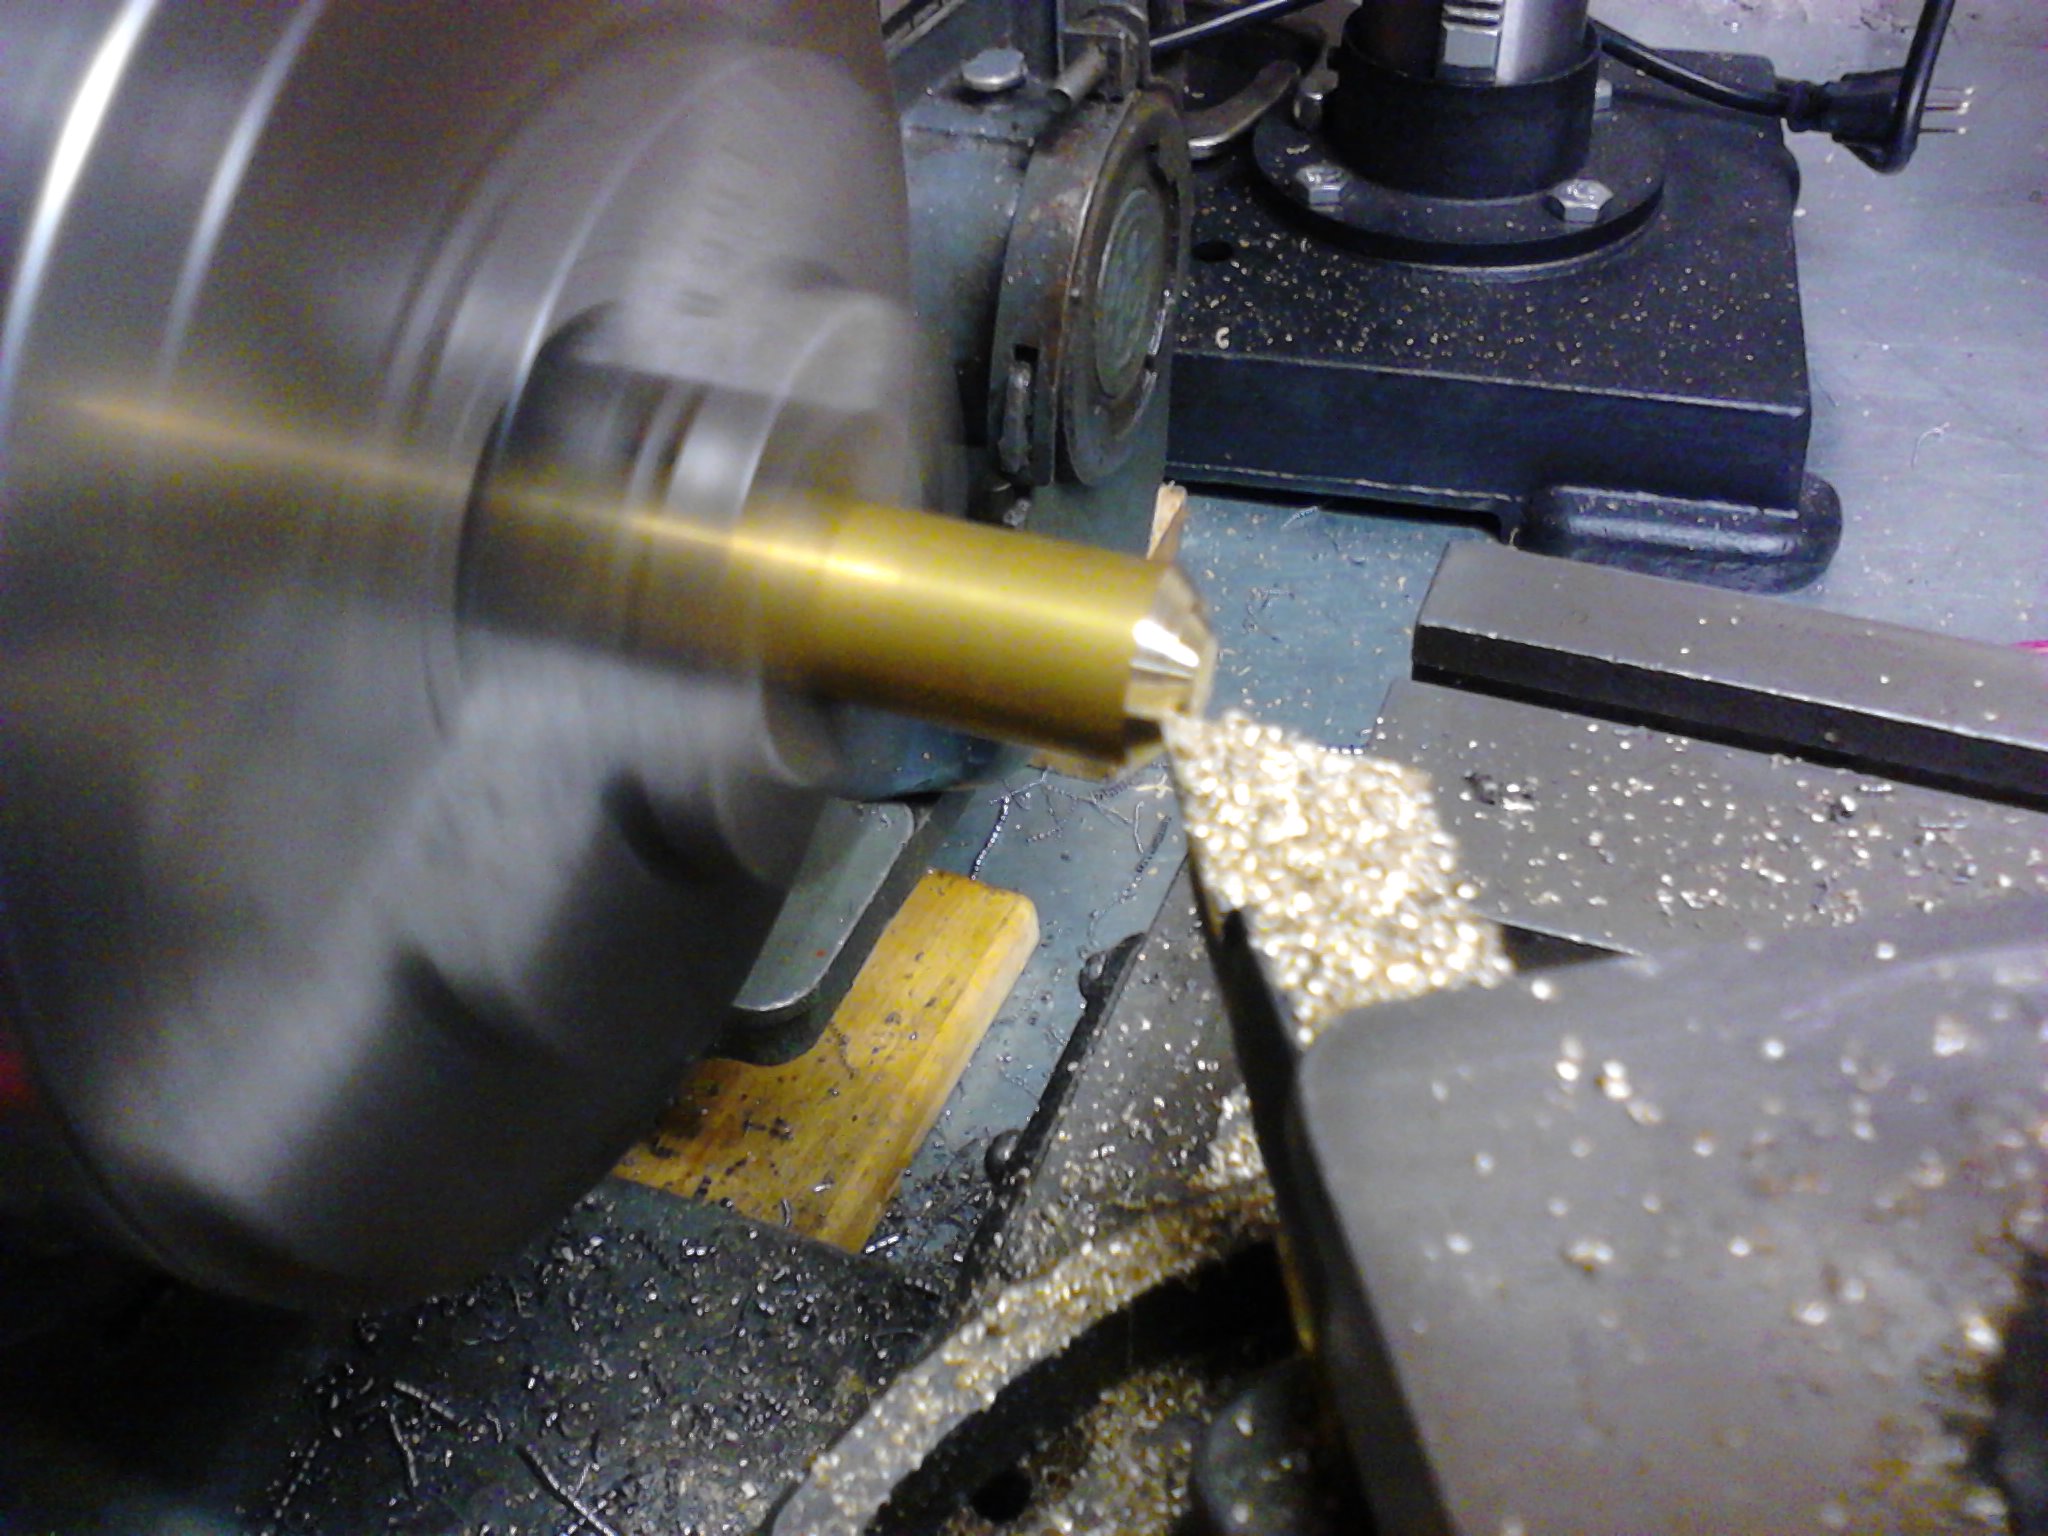
Face and chamfer.

Faced and chamfered

Flip it around and put a 60° included angle on the other end with the compound slide.
Take the bar out a little bit and clean it up.

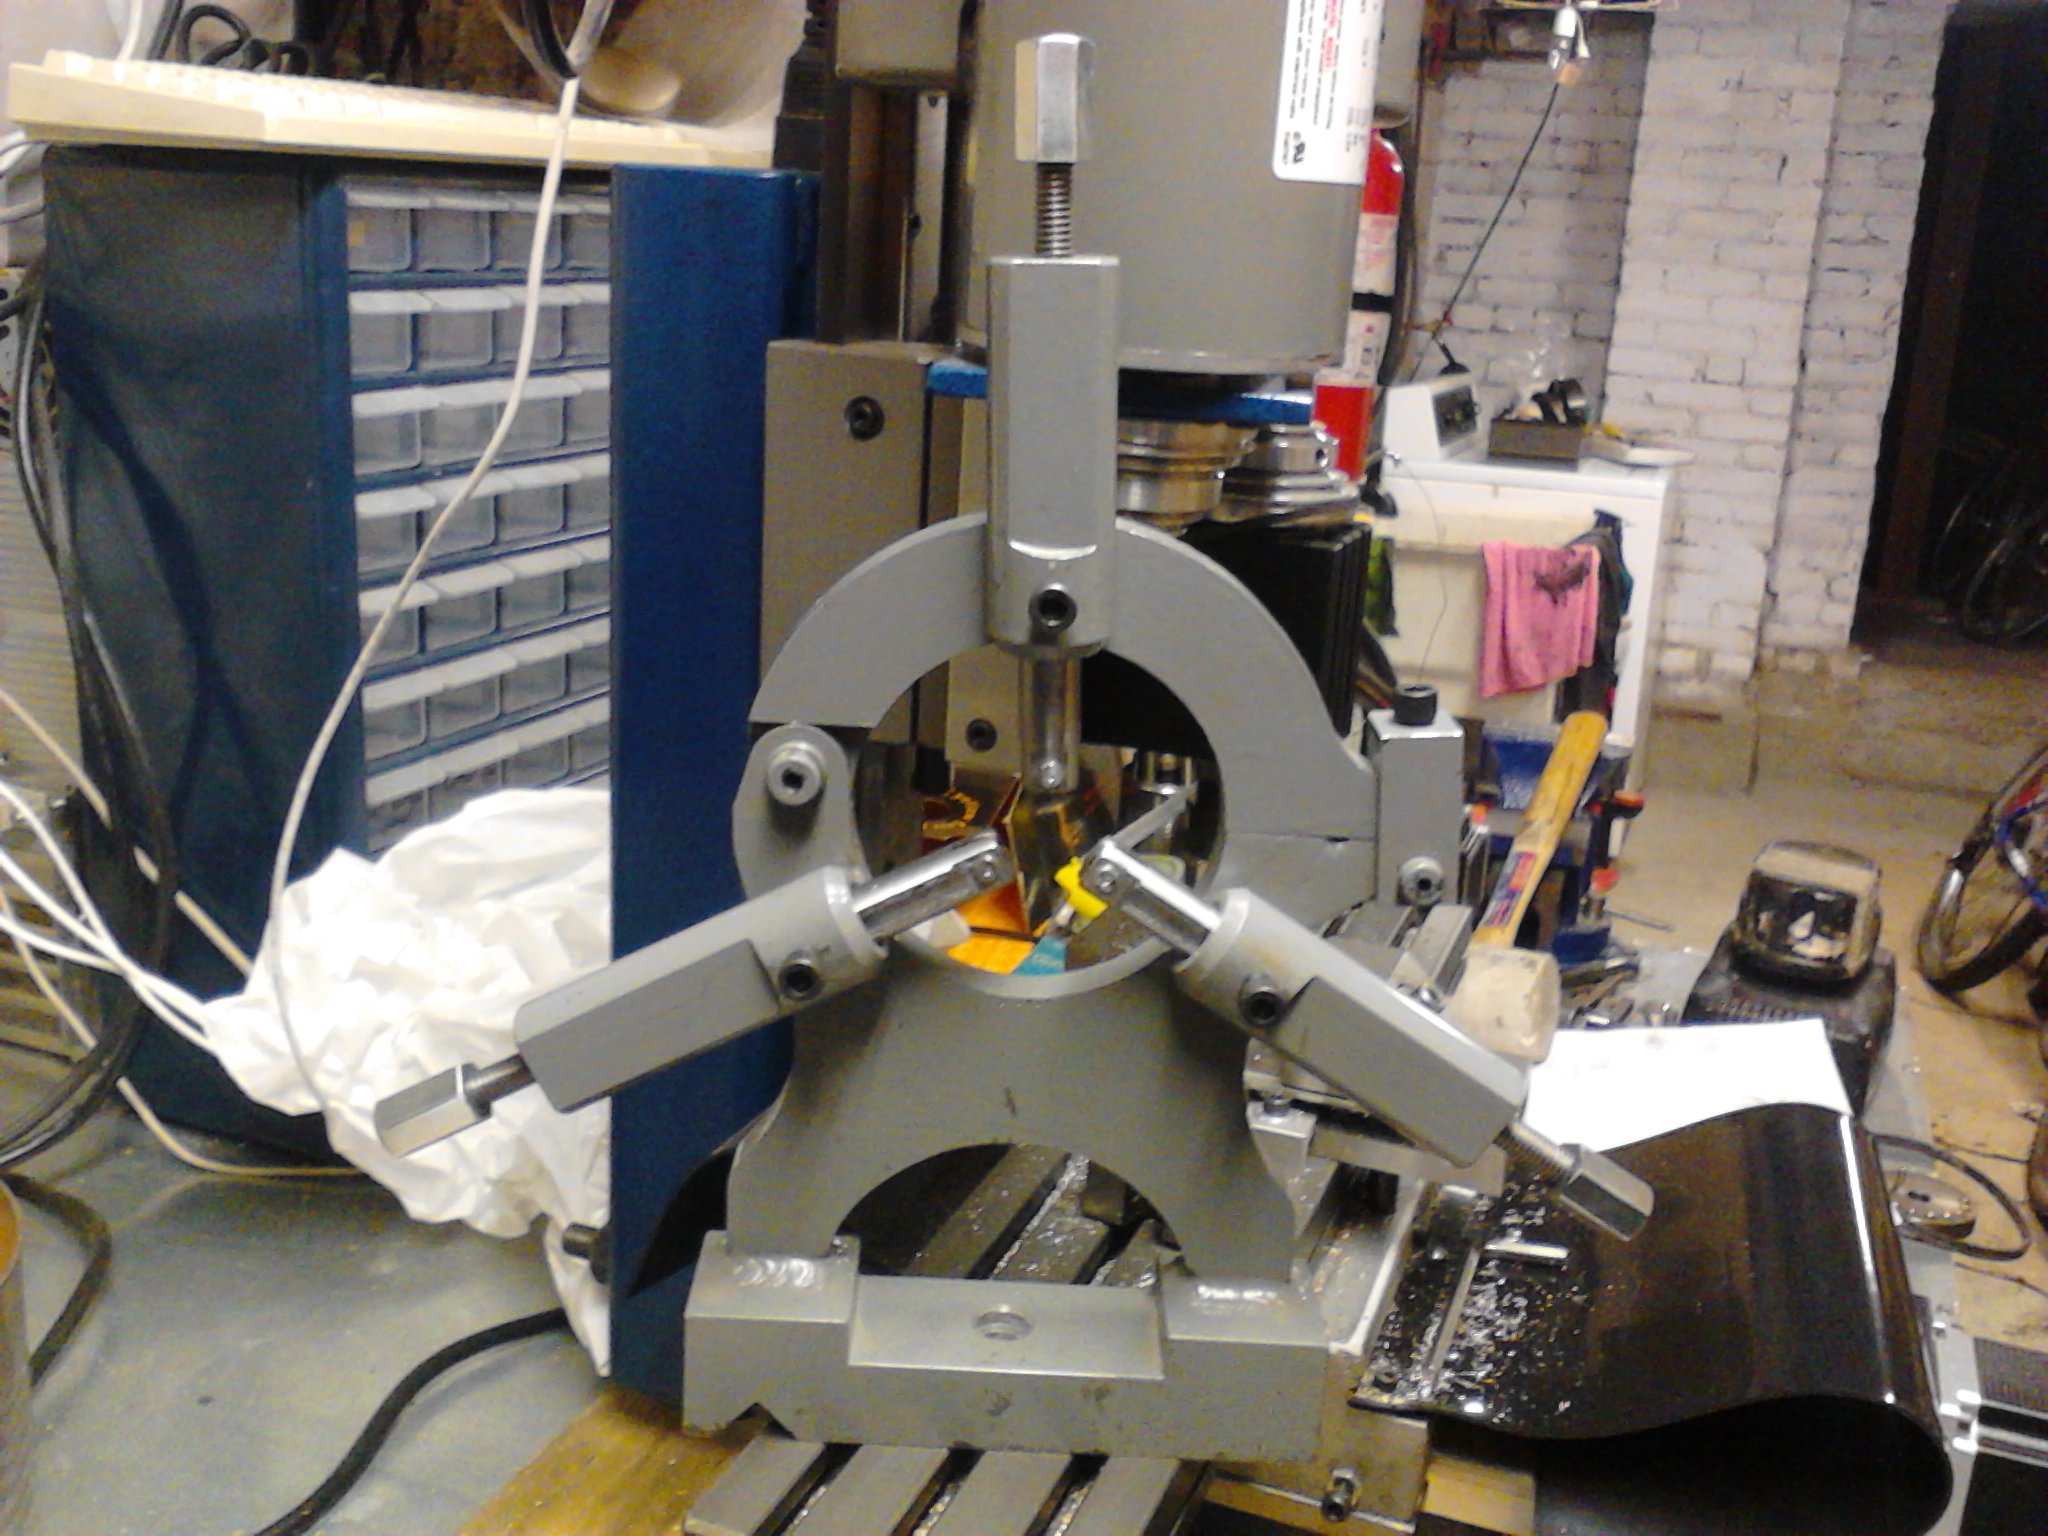
Put it in a vise and mill out some keyways for the screw.
This is what it looks like completed compared to before starting.

Do the remaining 2.
And here are the 3 fingers. You can already see the mark left by the screw when I tried installing them in the steady rest.

Its time to make the pushrod that extends the fingers out of the housing. We start by chopping a 5/16"-18 coupling nut in 2.

Next, we cut ourselves a bit of 5/16"-18 threaded rod and clean one end of it.

Put some thread or locker on the clean end

Put the two pieces together. The thread locker will take a few hours to cure. It is a good idea not to touch the assembly much during this time.

Once everything is ready, you can put everything in place. Looks good!

Small Ball Bearing
These fingers have small ball bearings. These bearings are small enough so that they can retract into the finger housing, allowing for larger workpieces to be turned inside the steady.
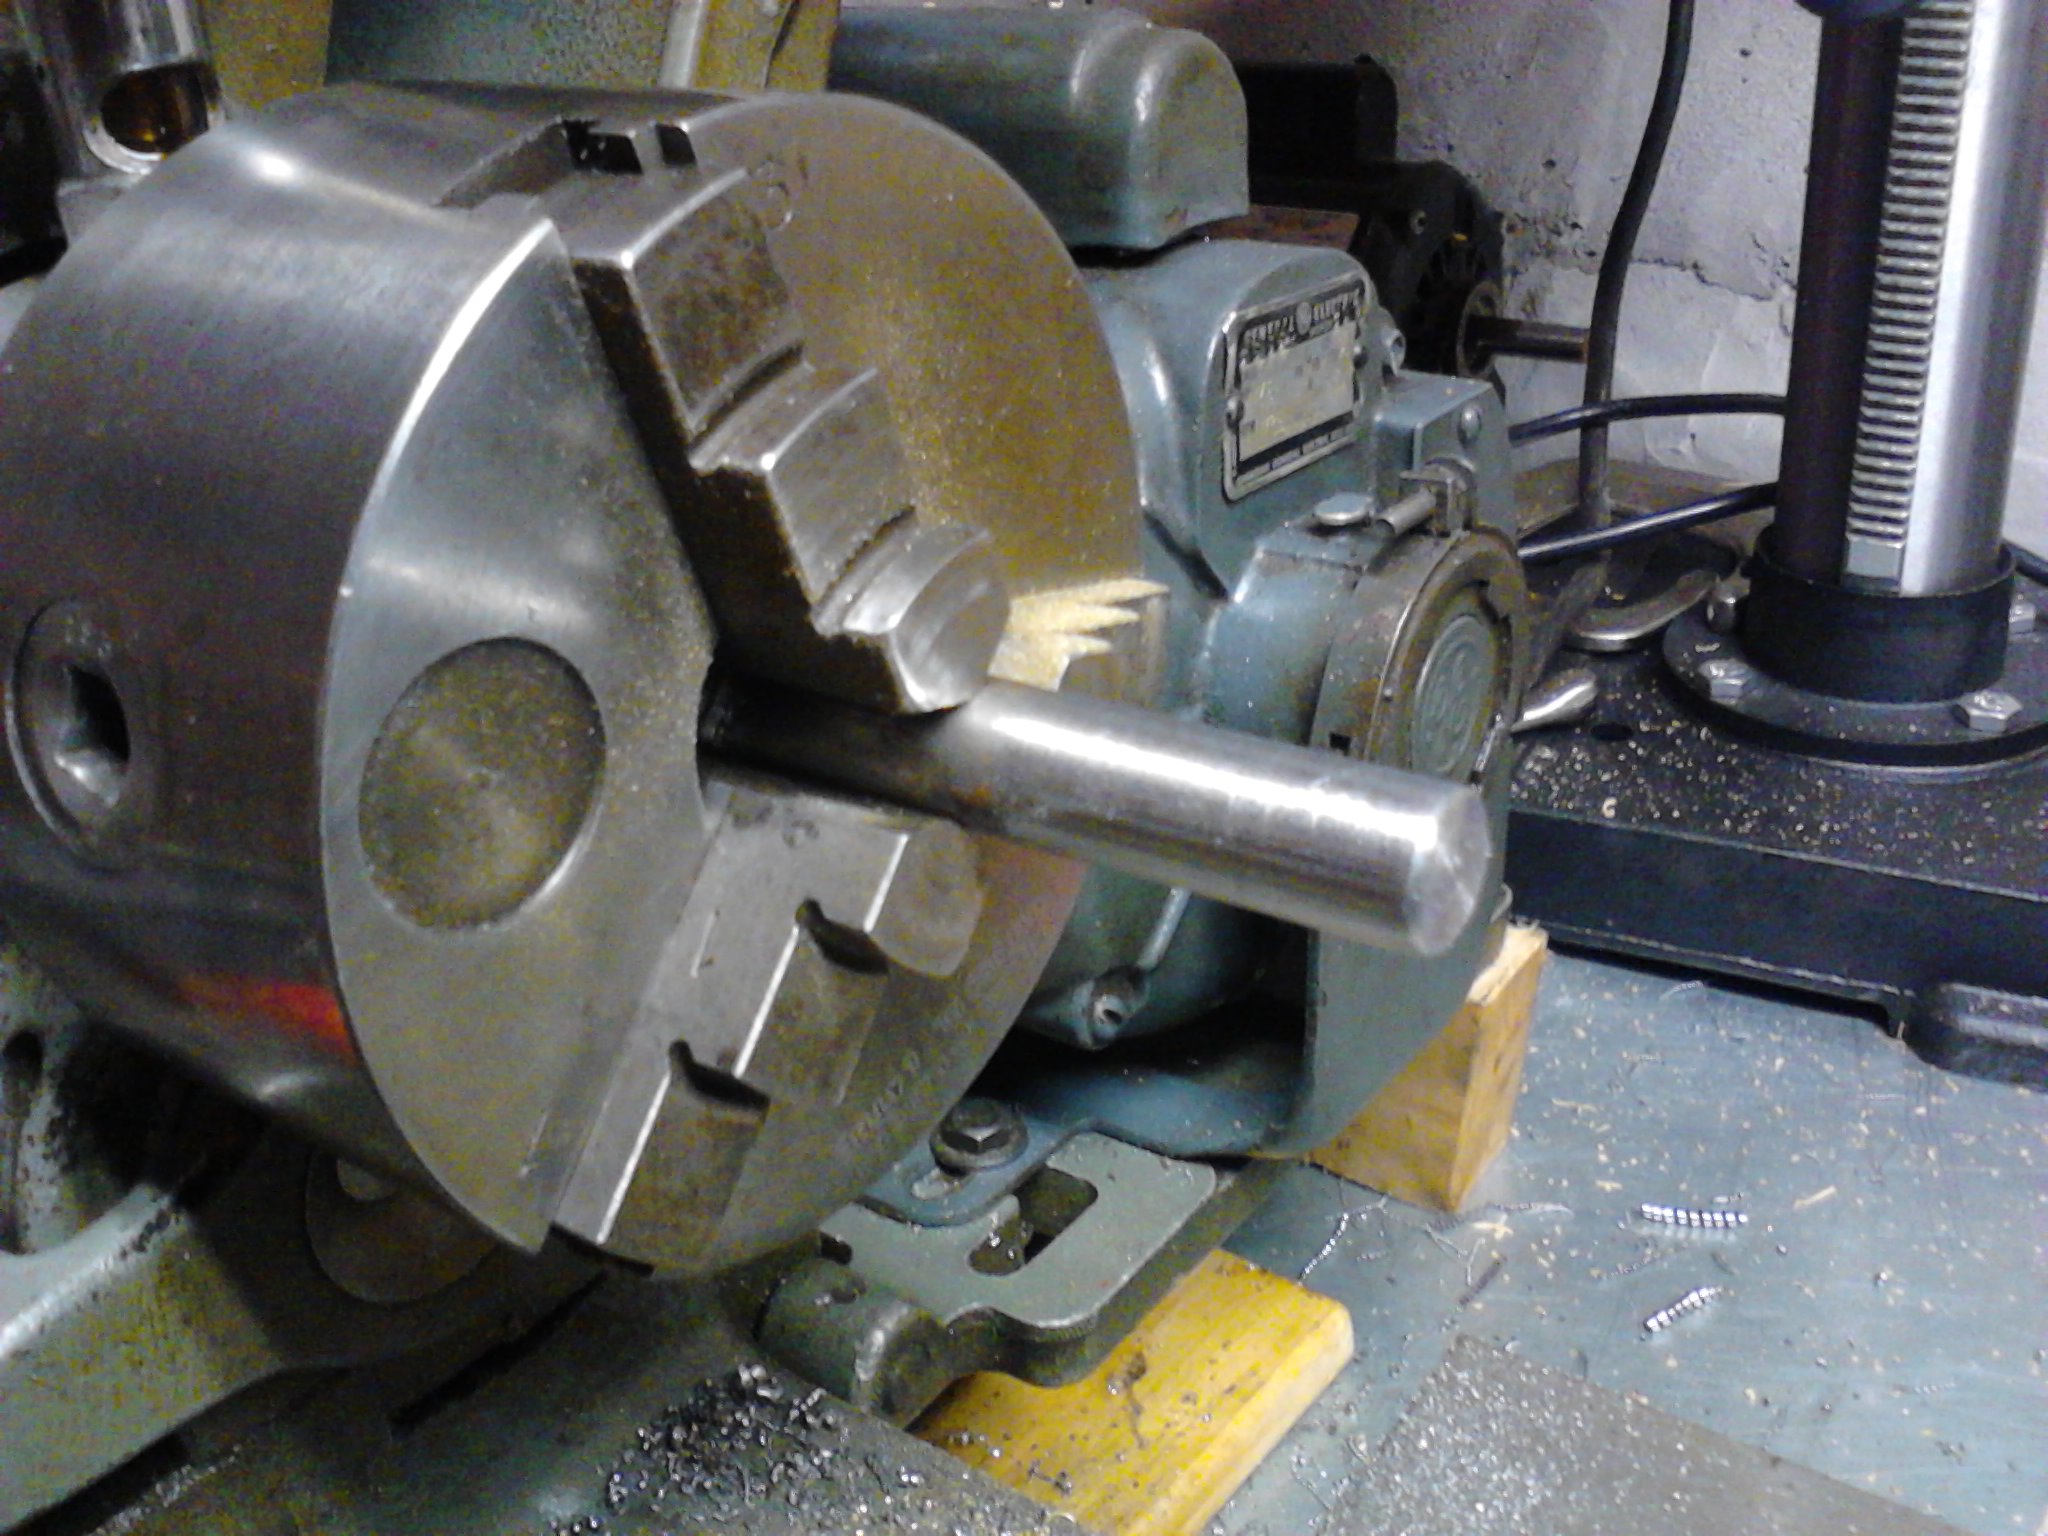
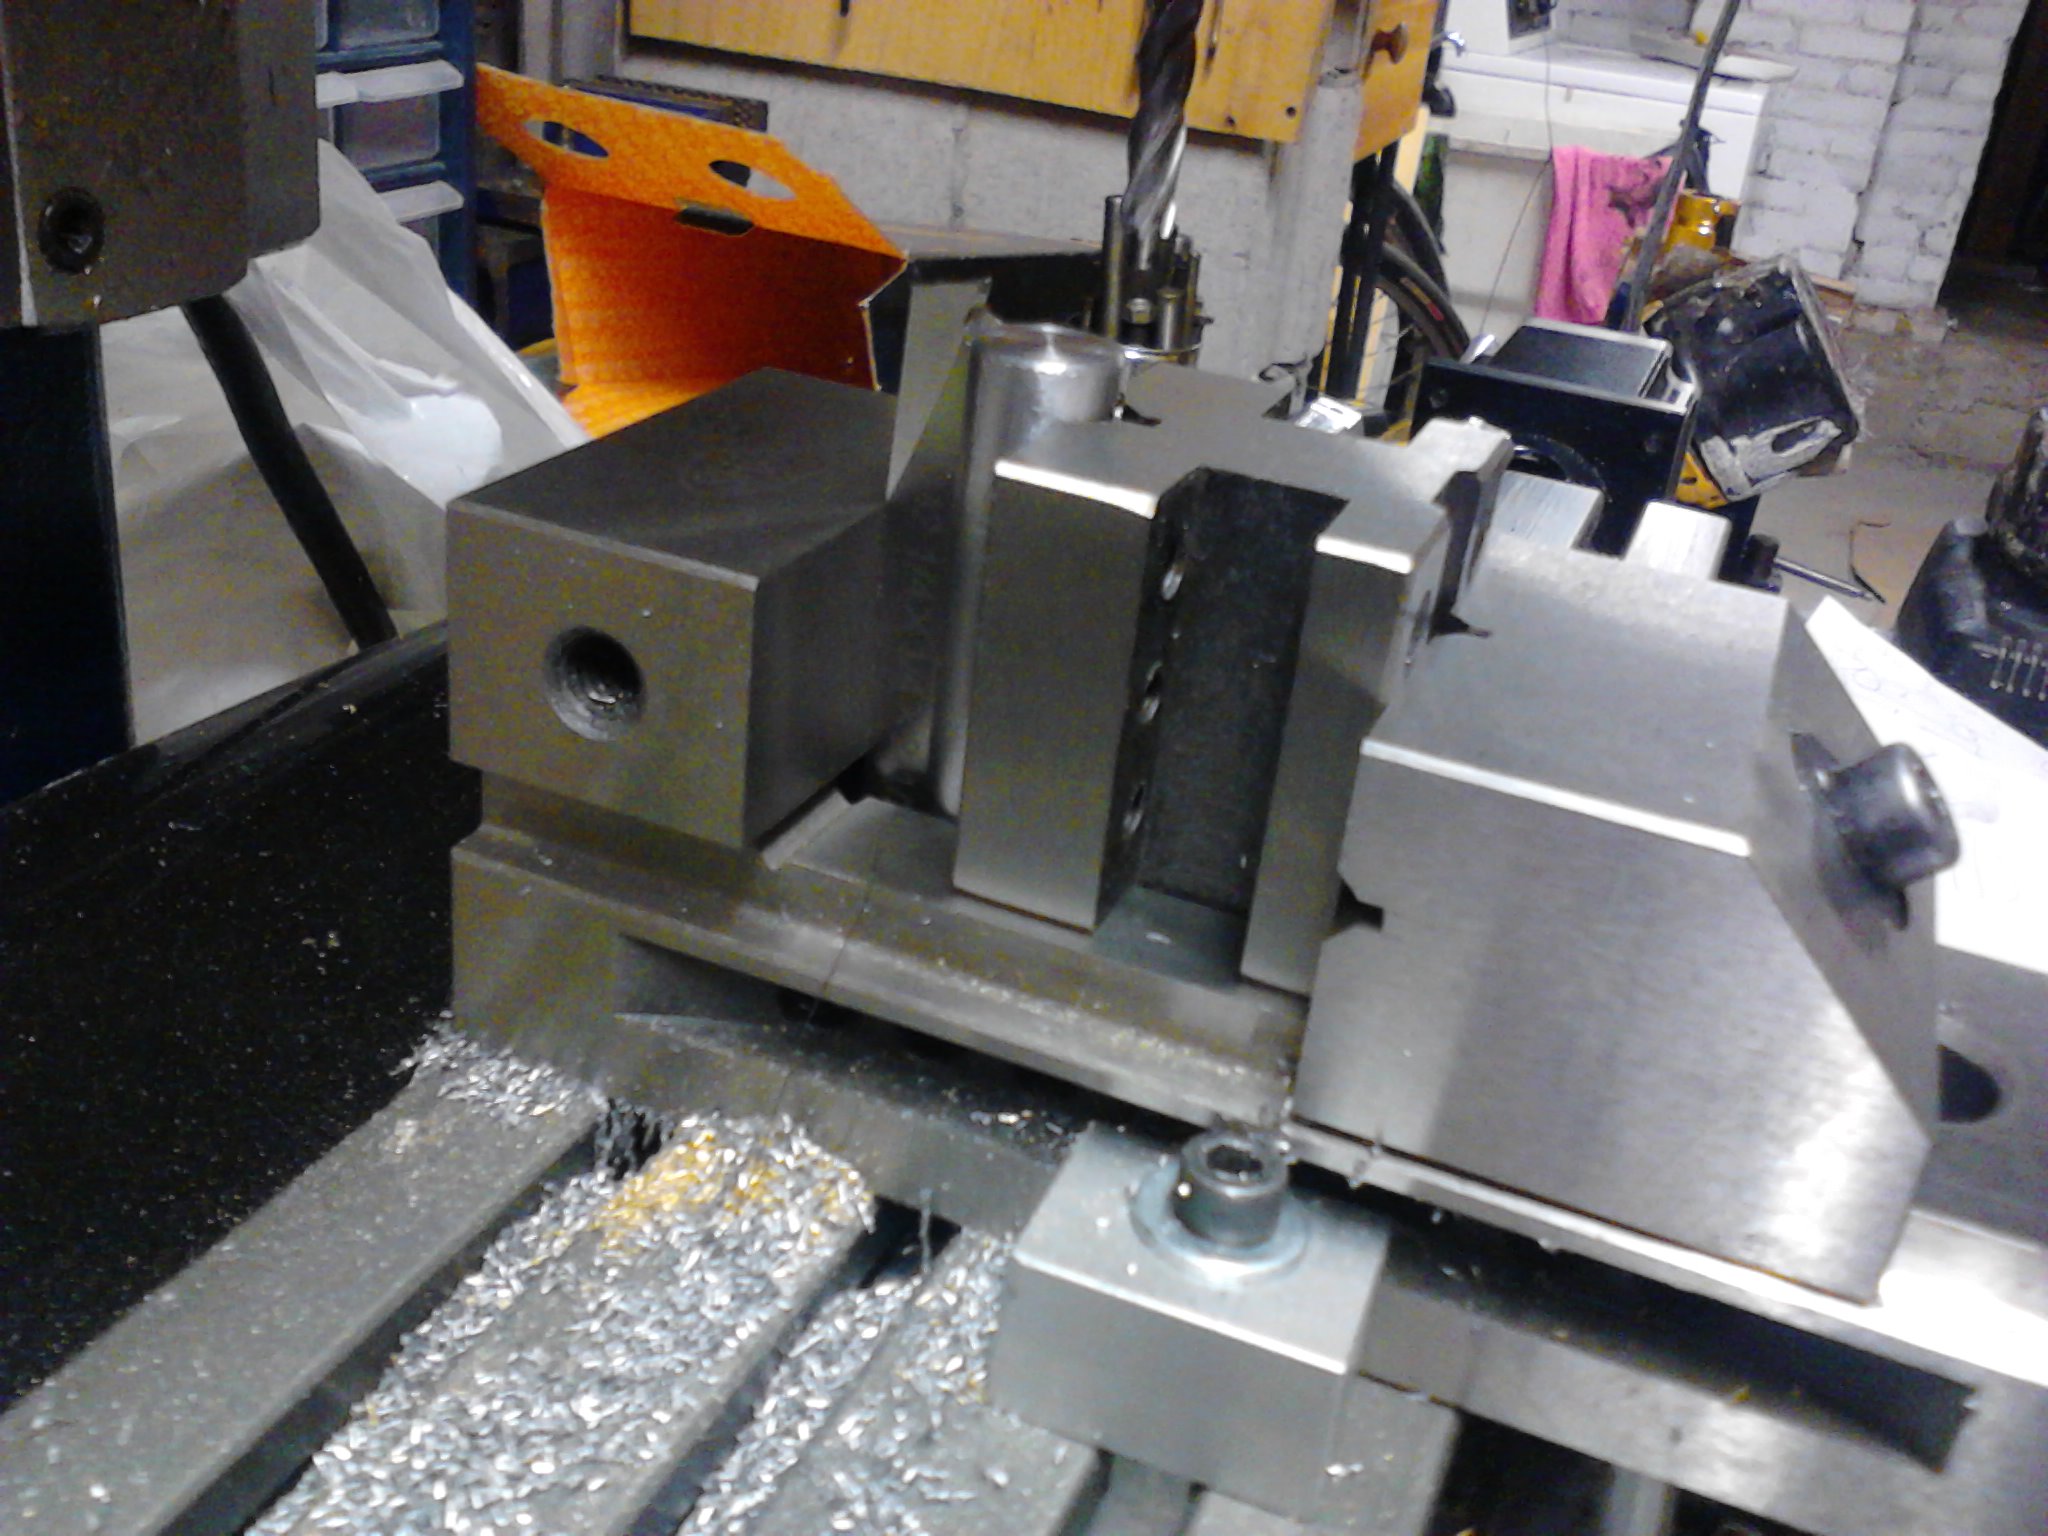
Start off by cutting a piece of 1/2" steel. I used 1018 mild steel.

Chuck it in, face, chamfer and clean up like what we did before.
Make 3 of these

Chuck it into the milling vise.

Touch off with an edge finder on the fixed jaw of the milling vise.

Touch off with an edge finder at the end of the steel rod.

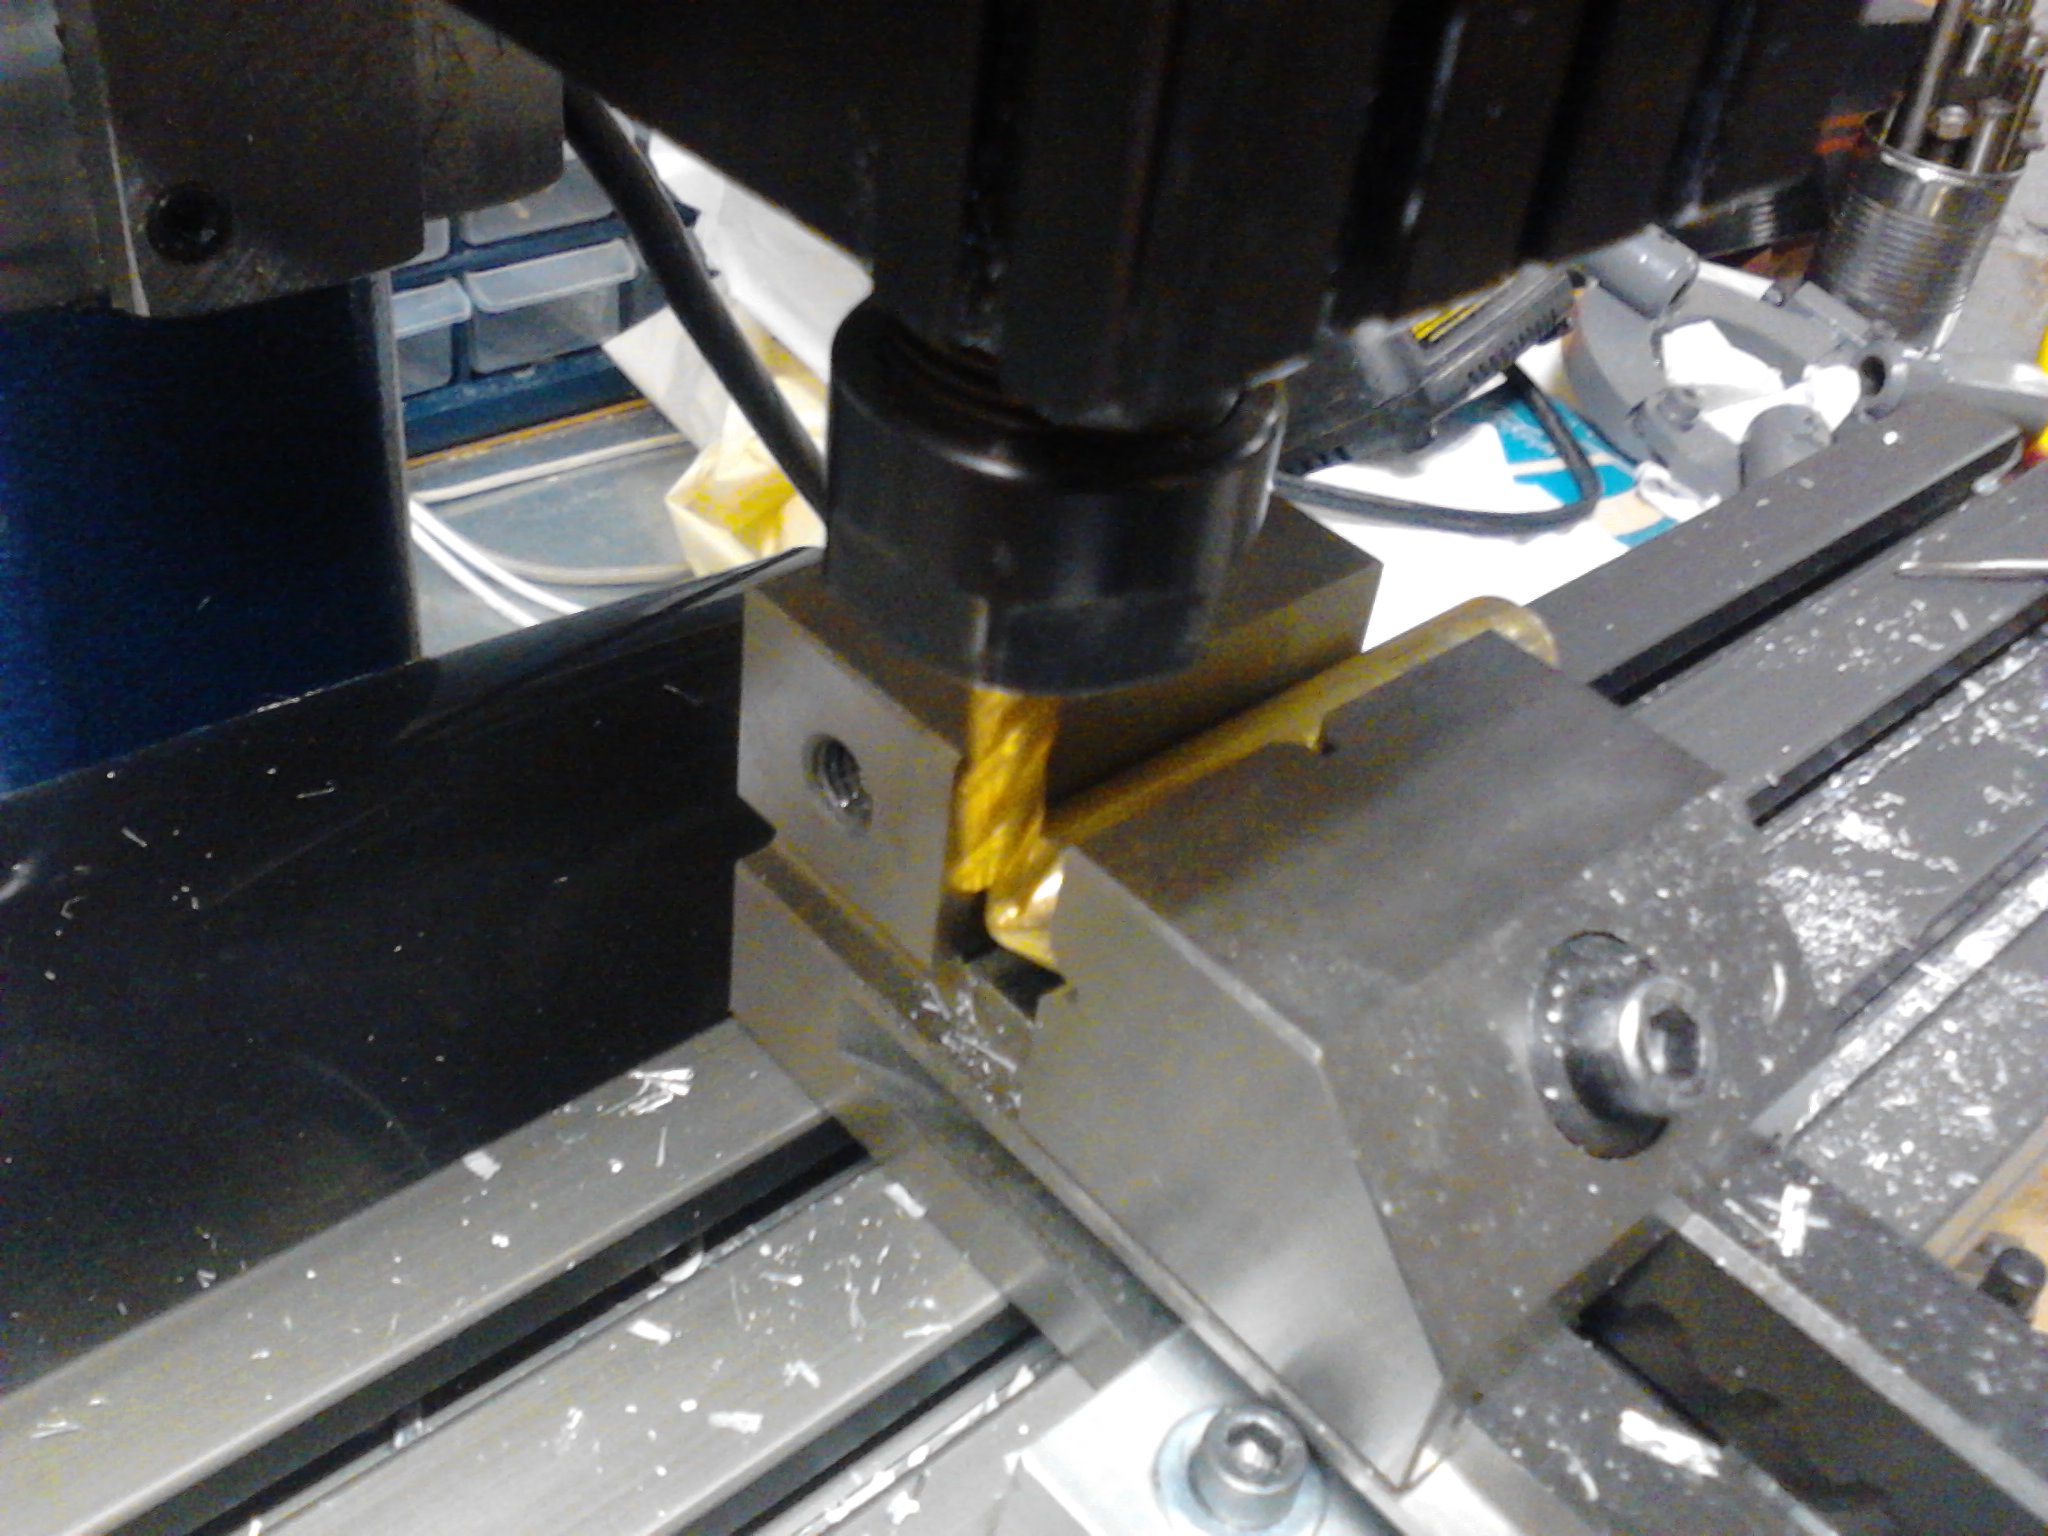
Now that we know where the steel rod is, we can mill out the flats.

Spot and drill the hole that is going to support the ball bearing.

Chuck it in vertically so that we can mill the slot that the ball bearing will sit in. Note that there is a 1/4" lathe tool bit sitting in the vise. This is pressing against the flat that we just milled in the steel rod. This will help us get the slot parallel to the flat.
Mill out the slot.
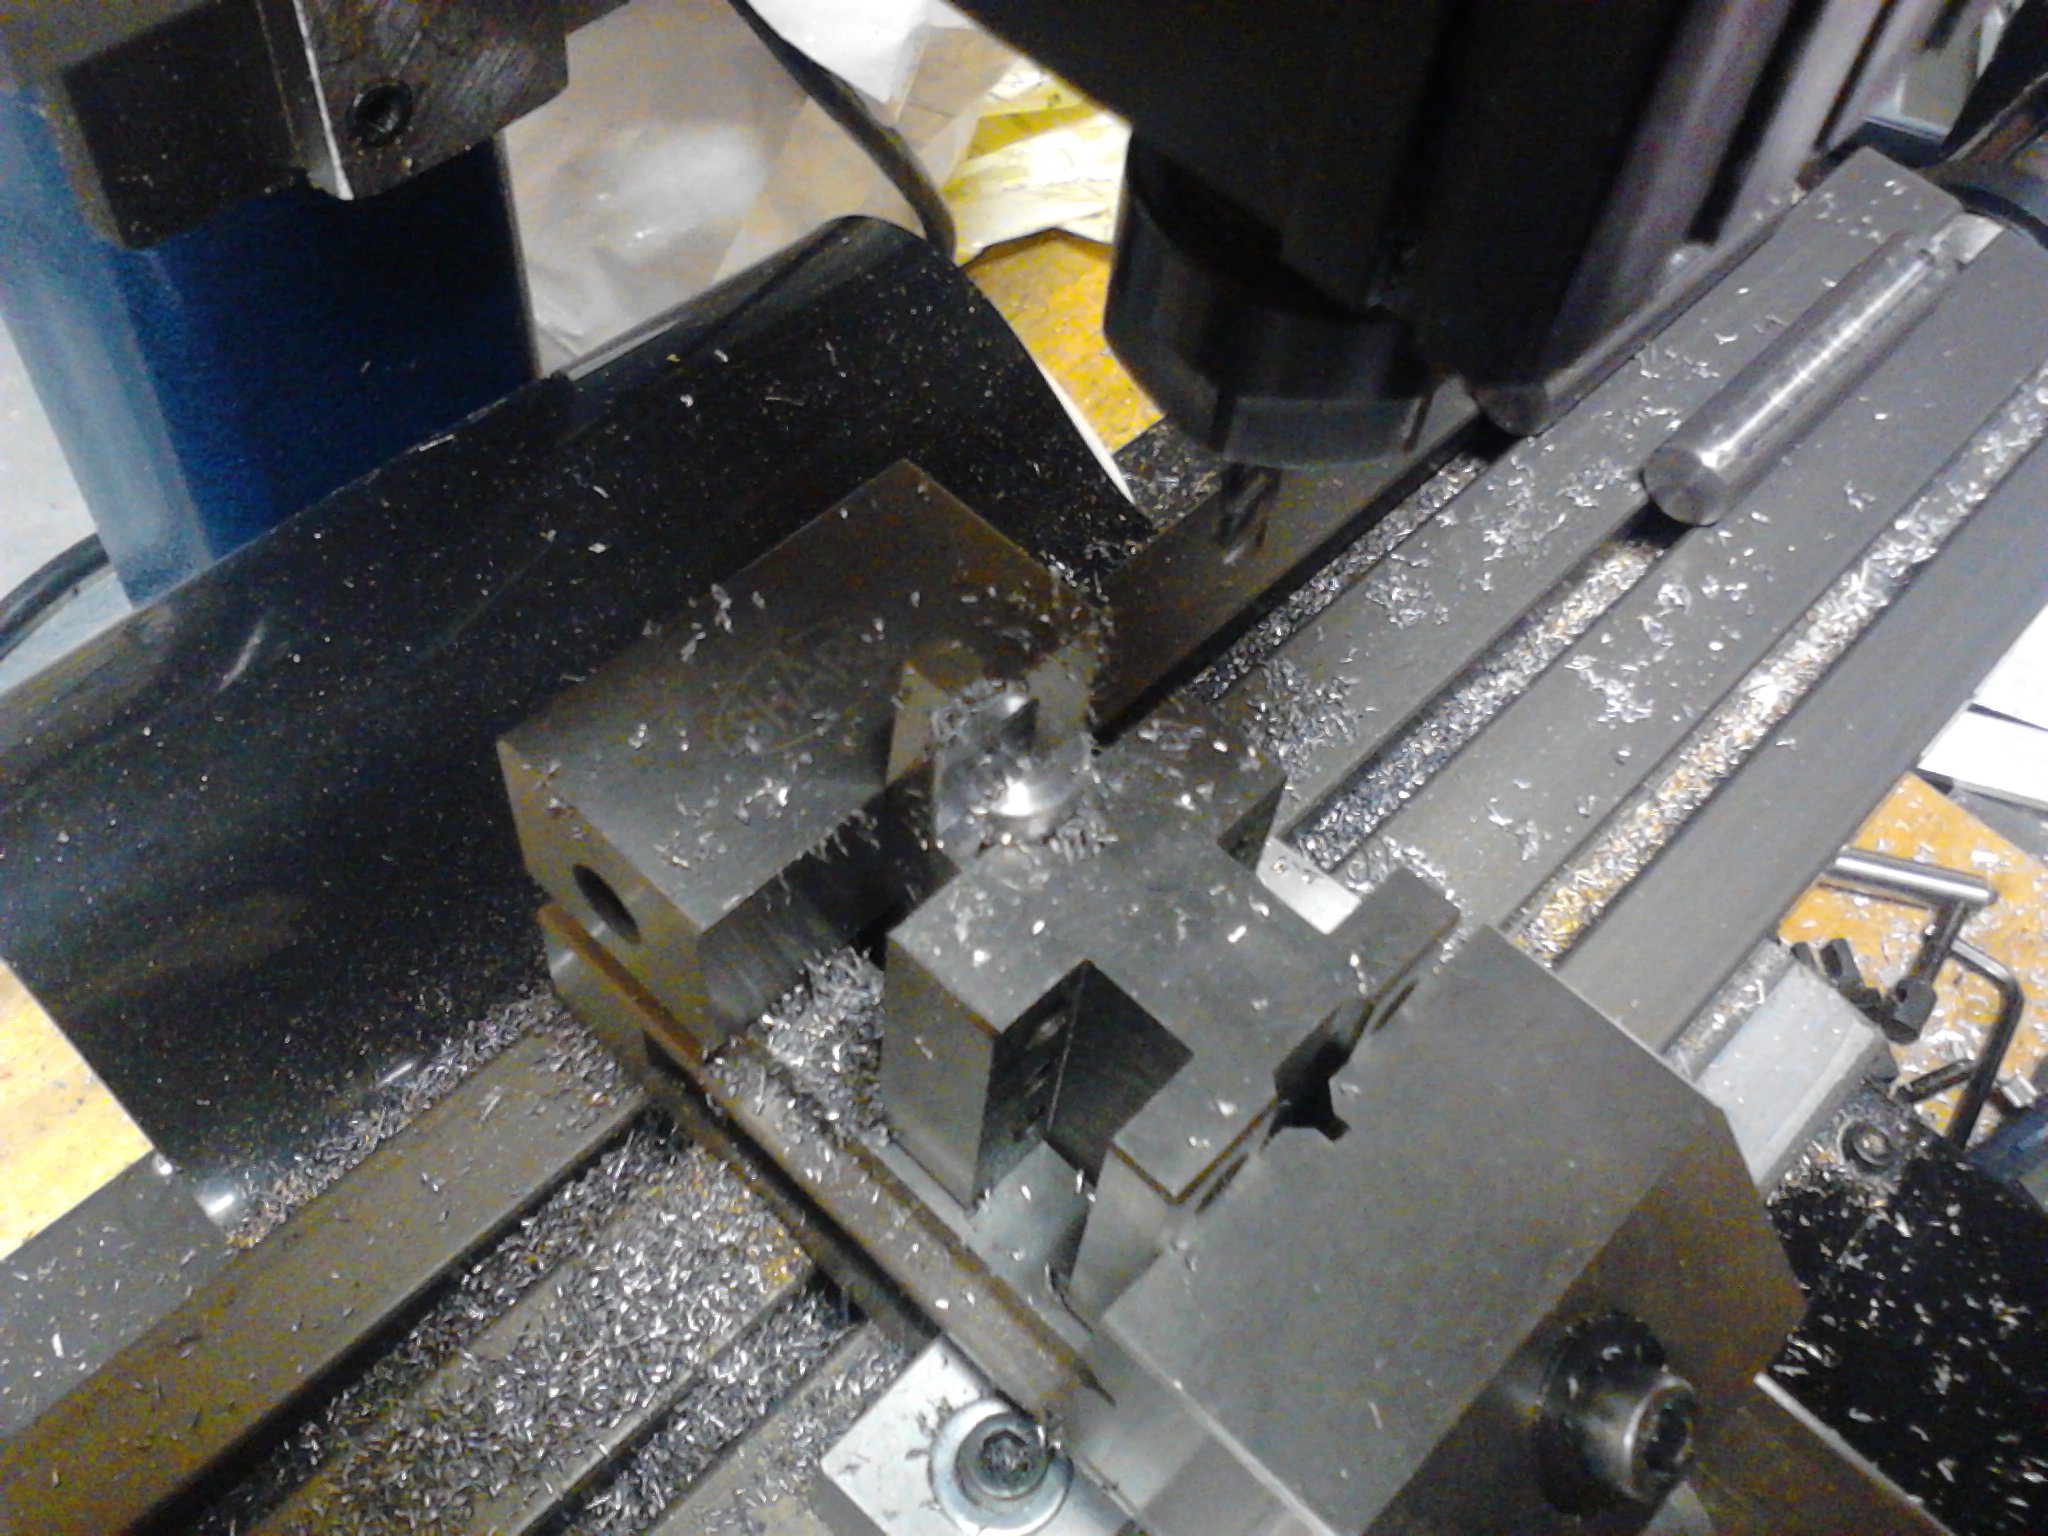
Tap a hole to accept the retaining screw.

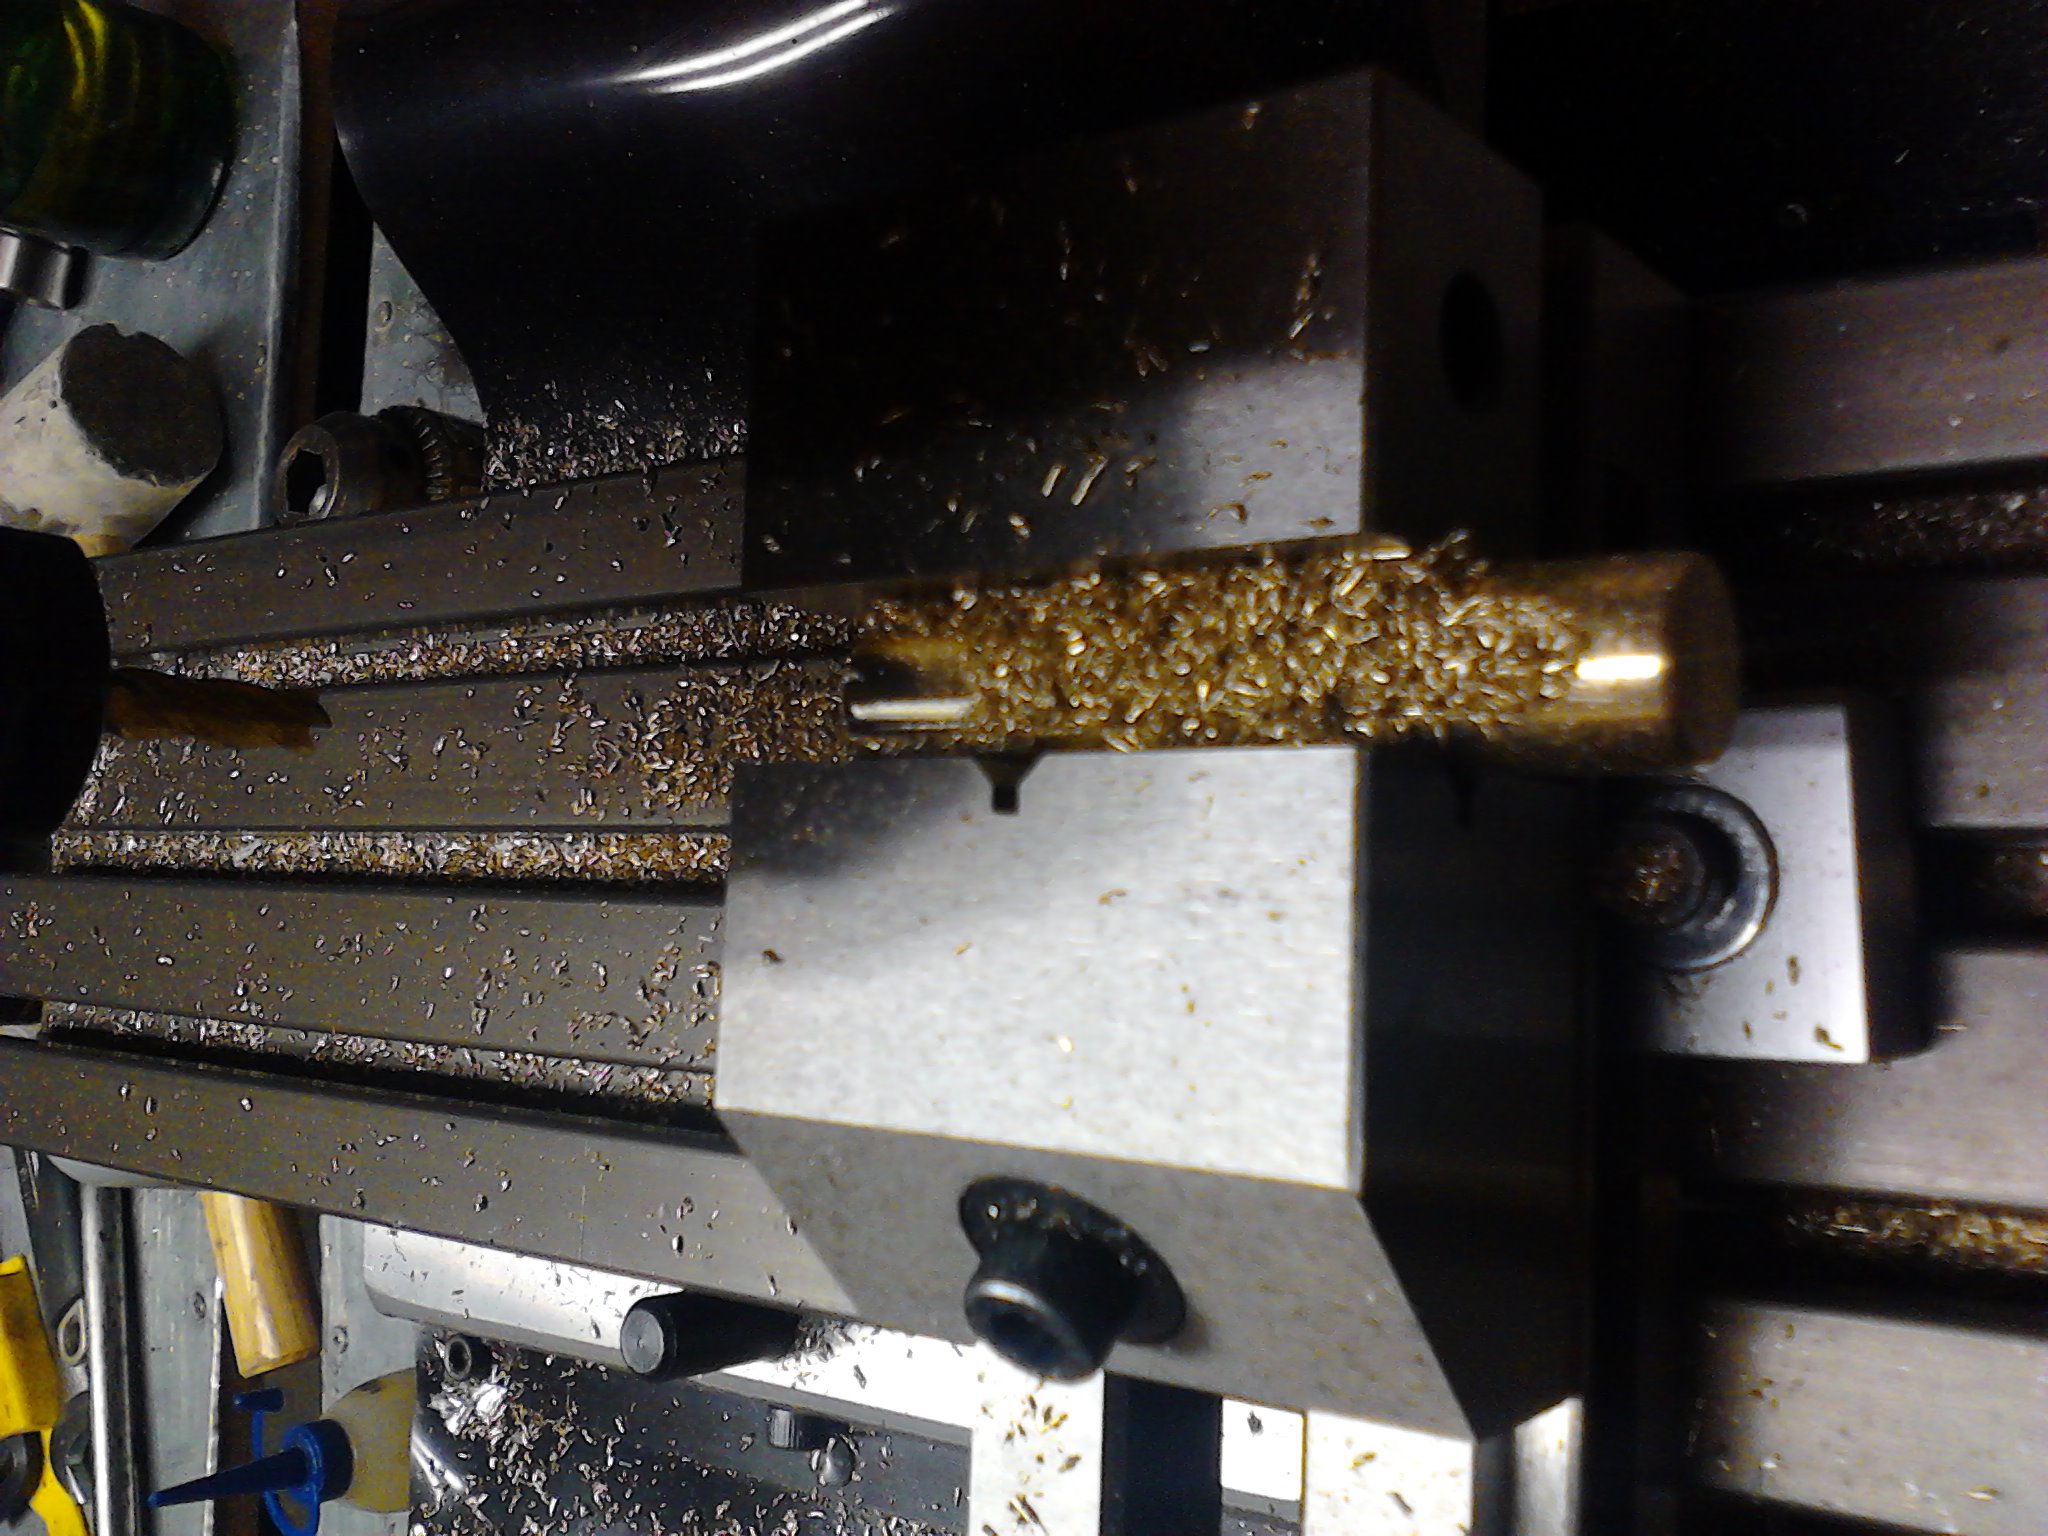
Once again, make 3 of these.

The inner bearing race needs to be held away from the finger so that the outer race can spin freely. We are now making the washers to provide this gap. Spot the hole first.

Drill a hole, turn down a sholder and part it.

This is what the washer looks like when installed in on the bearing.

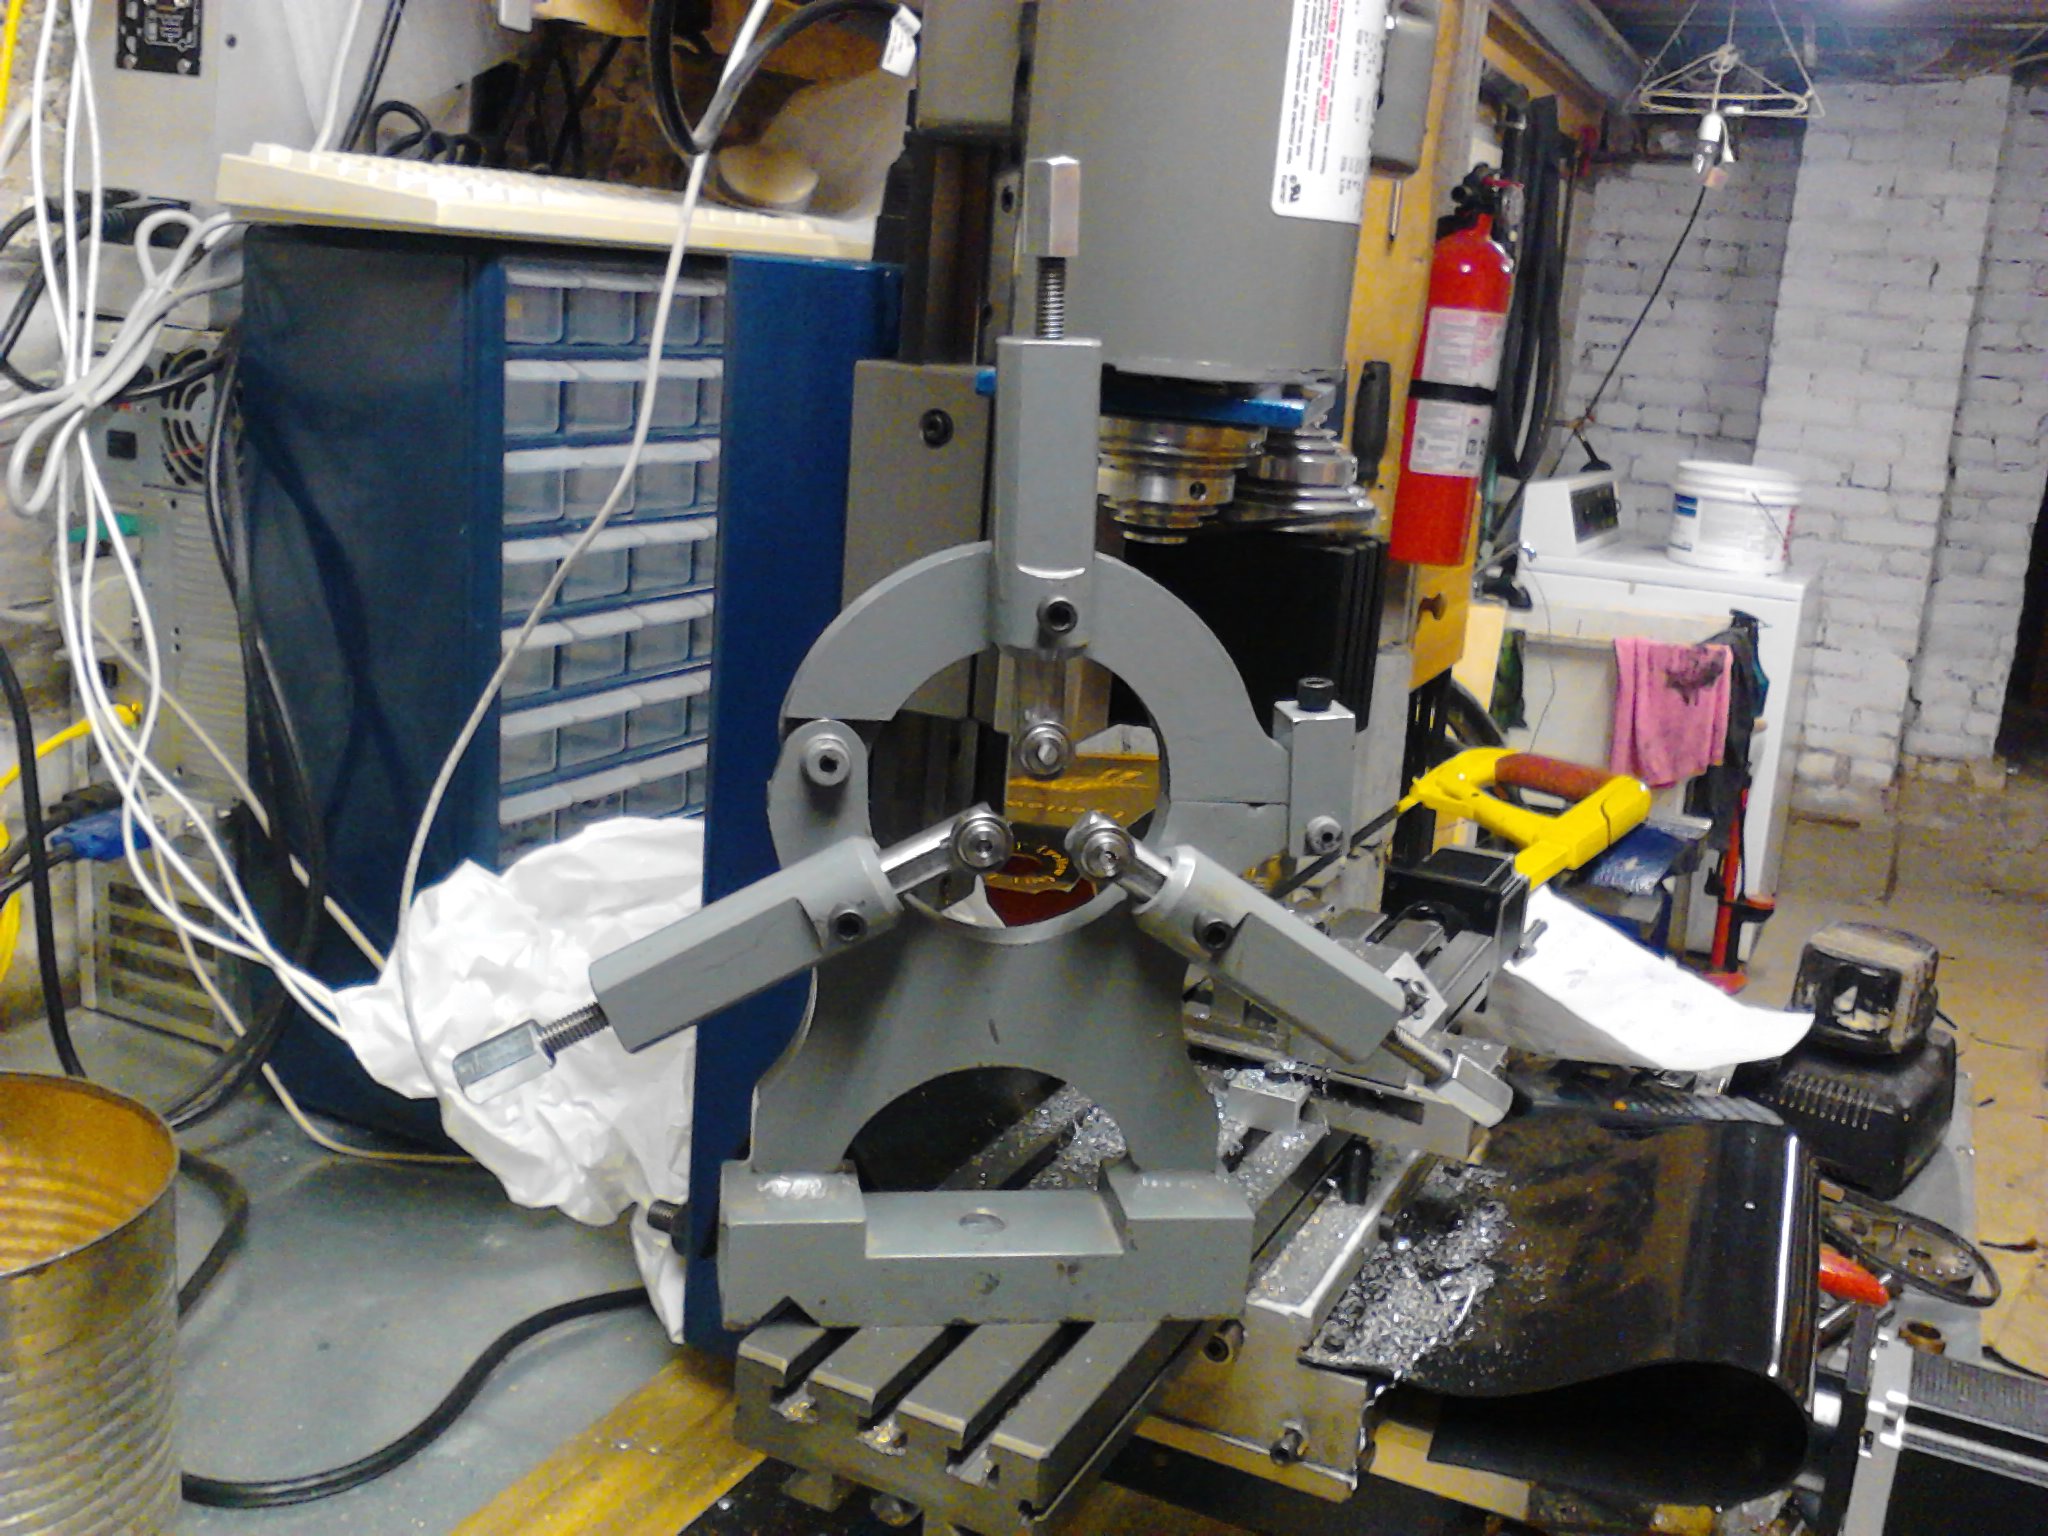
Install the fingers into the steady rest and this is what you get.
Large Ball Bearing
For heavy duty work, the small bearings may not stand up the higher forces. So, a set of fingers were made with heavier duty and larger ball bearings.
The build process for these fingers are very similar to the small ball bearing fingers. So, we will skip most of the steps. Here we are spotting a hole for the bearing to be attached to.

Now we make the washers and nut that will retain the bearing. Here we face a steel rod.

Spot a hole.

Drill the pilot hole for the tap and tap an internal thread.

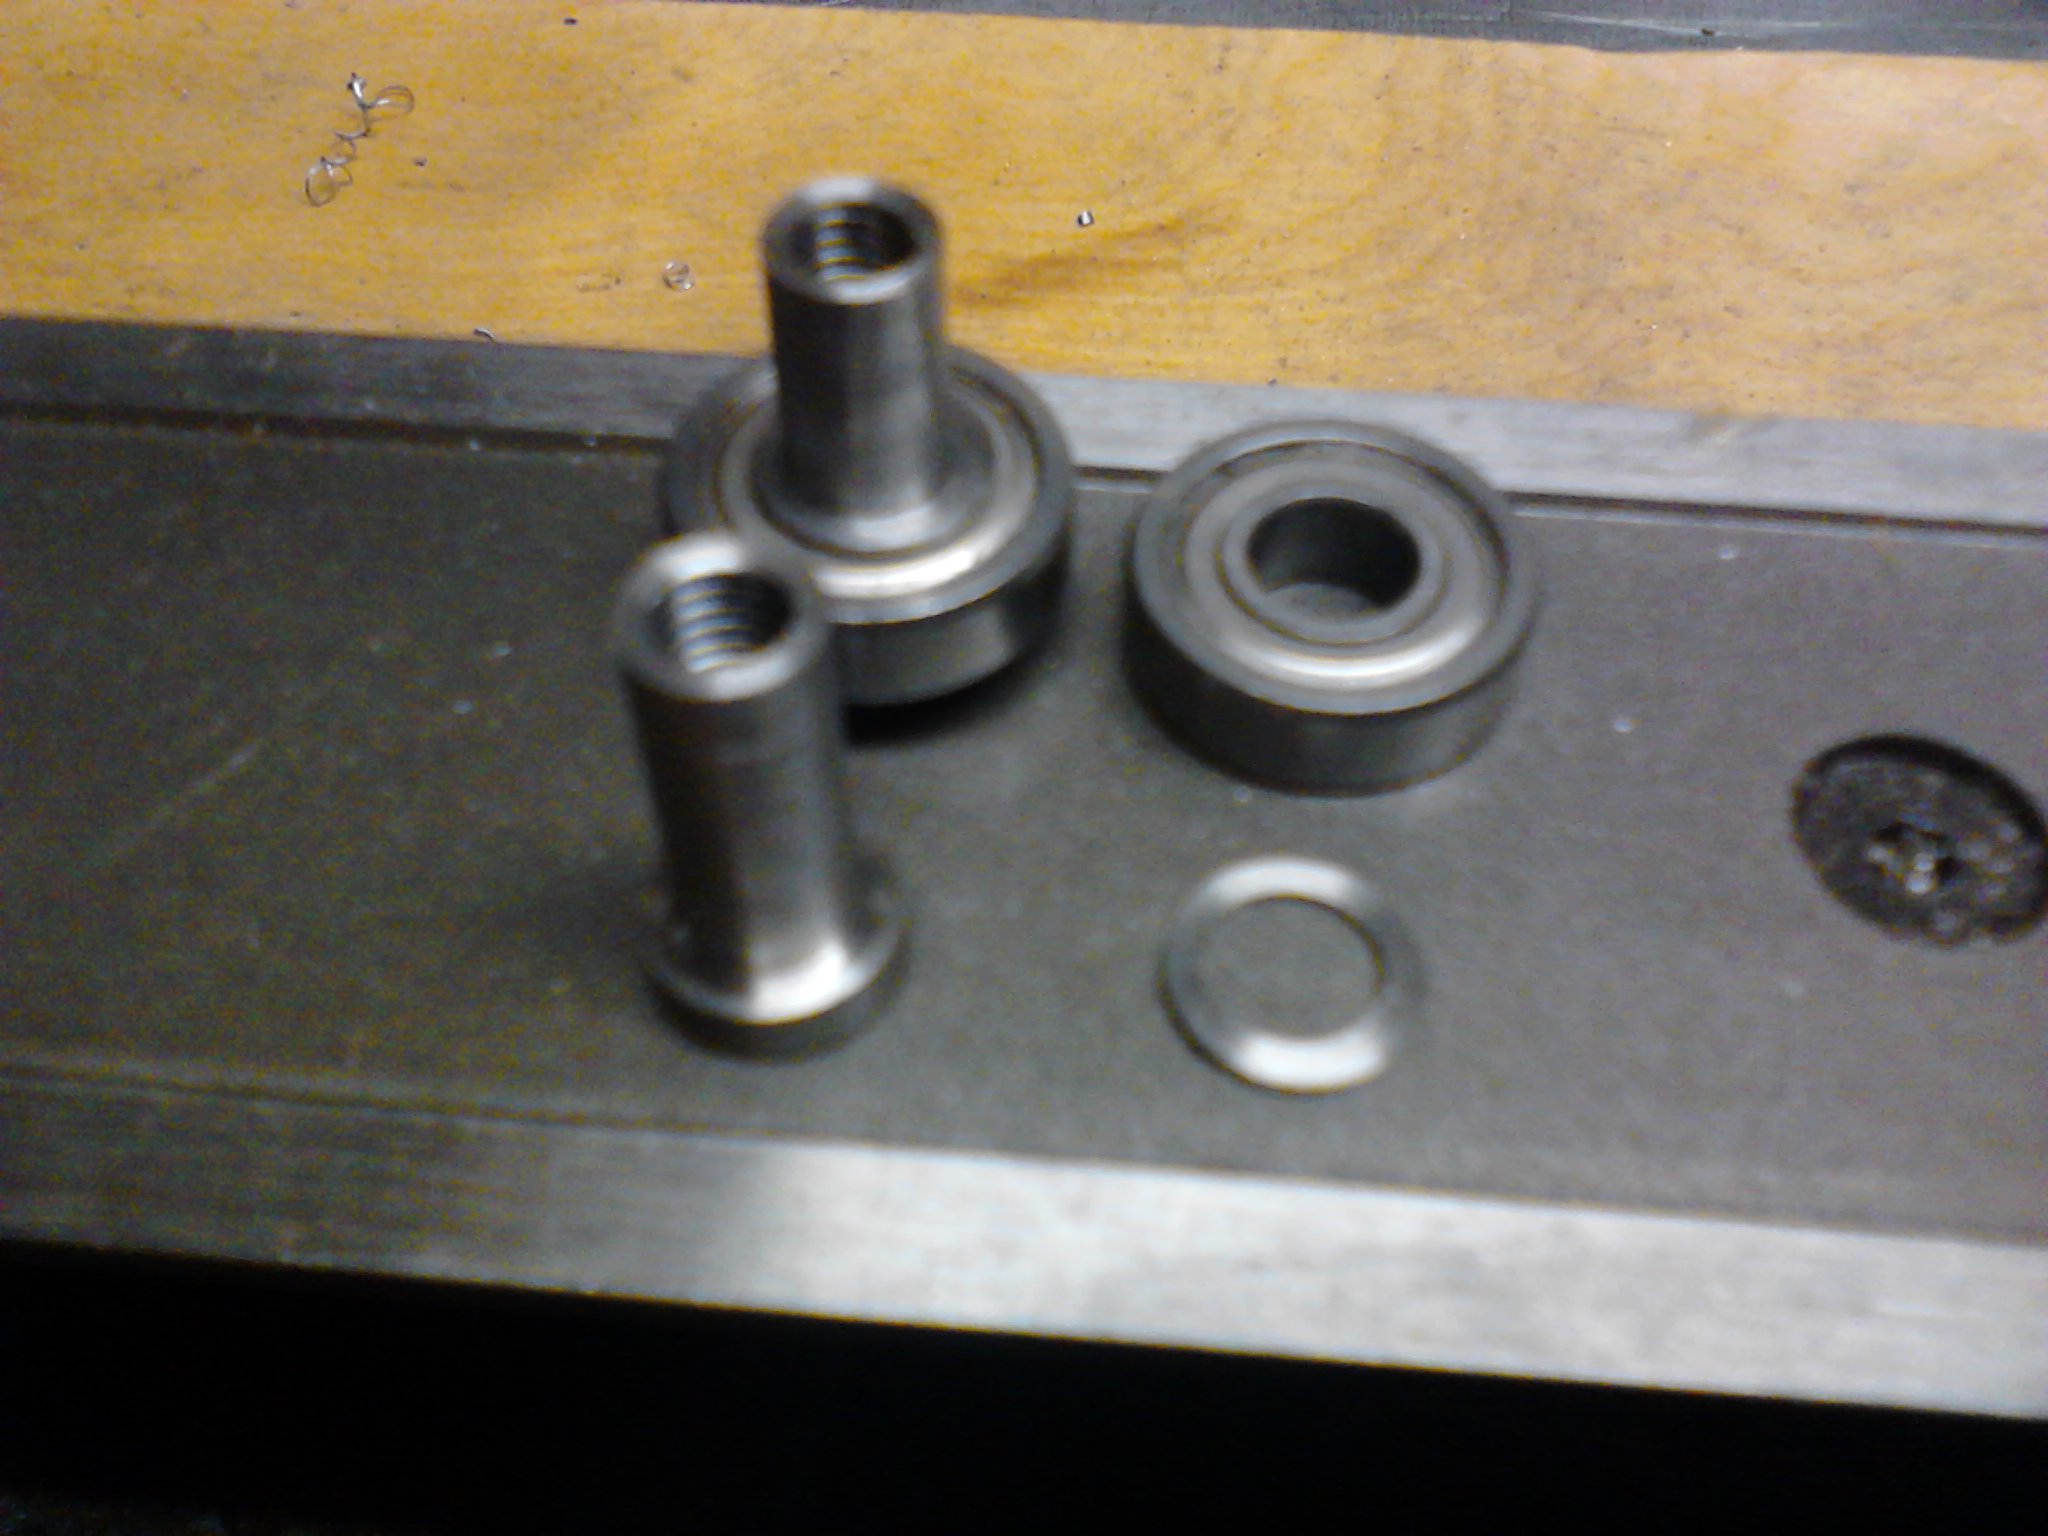
This is what the nut and washer looks like by them selves and when installed.
This is what the steady rest looks like with the large bearing figners installed.
Thats all there is to it. Here are all 3 different types of fingers side by side.

This page was last revised on 2012-06-18.
![]()
